DRIVE SYSTEM: HOW TO CHANGE THE MAXIMUM SPEED OF YOUR SYSTEM

What a great decision you made purchasing a drive system. Have you been enjoying learning all the different ways the new drive system can benefit your work environment? After testing the system, you realize the speed isn’t exactly what you planned. Maybe it’s a little too fast or too slow. Whichever it is, don’t fret; we’ve covered it. After reading this and following along, your system will drive at the perfect speed for your operation.
Let’s start by reviewing the tools required for a motor speed change.
Your drive system consists of a Roboteq motor controller. A USB Connector of type B, shown in Figure 1, is needed to connect the motor controller to your computer.
Figure 1. USB Connector Type B
Next, you’ll need to download the Roborun+ Software. The Roboteq ‘Download Center’ webpage is shown in Figure 2. One can download the software from the following link:
Roborun+ Software:
Now that you have downloaded and gathered all the necessary software and equipment, we can discuss the process for changing the maximum speed of the drive motors.
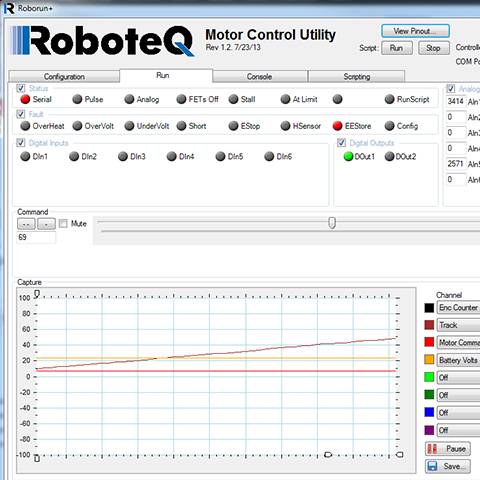
Step 1: Begin by opening Roborun+. Figure 3 shows the opening page of Roborun+.
Step 2: Locate your drive system’s USB port and connect the motor controller to your computer using the USB type B cable below in Figure 4.
Step 3: Start by powering up your drive systems. Then, once the motor controller is found, Roborun+ will prompt you to read the controller configuration and select ’Yes,’ displayed in Figure 5.
Step 4: Locate the ‘Power Output’ section under the configuration tab. Expand the ‘Motor 1 Output’ tab, shown below in Figure 6.
Step 5: Under Motor 1, expand the Power Adjust tab showing the Max Power Fwd (%) and Max Power Rev (%) below in Figure 7.
Step 6: Adjust the ‘Max Power Fwd (%)’ and the ‘Max Power Rev (%)’ settings as needed. Reducing the value will reduce the maximum speed of the motor. No one recommends you go below 50% without consulting Conceptual Innovation engineers. Bringing the power level down too low can result in the motor stalling too quickly and either burning up the motor or the motor controller.
Step 7: Locate and expand the ‘Motor 2 Output’ tab and make the necessary changes as you did above with Motor 1.
Step 8: After making adjustments, select the ‘Save to Controller’ button on the right of the screen, shown in Figure 9.
You can save the profile on a disk as a backup by selecting the ‘Save Profile to Disk’ button on the right of the screen.
Step 9: You can test the changes after adjusting that motor controller. And you can modify these changes as per your requirements. Then, remove the USB connection and close the Roborun+ software. Check out our other drive system tutorials if you have any additional questions. As always, feel free to contact the Conceptual Innovation support team.